Showing posts with label Arts & Crafts. Show all posts

Tuesday, August 29, 2023

How to Make “HANDY GRIPPERS” Photo Frame (An ARTS & CRAFTS Tutorial)


Here's how to make a photo frame to frame your picture!


This was used in Series 10, Episode 4 of the British children's TV series called "Art Attack" in 1998 (you can follow this step-by-step video if you want, it's optional).
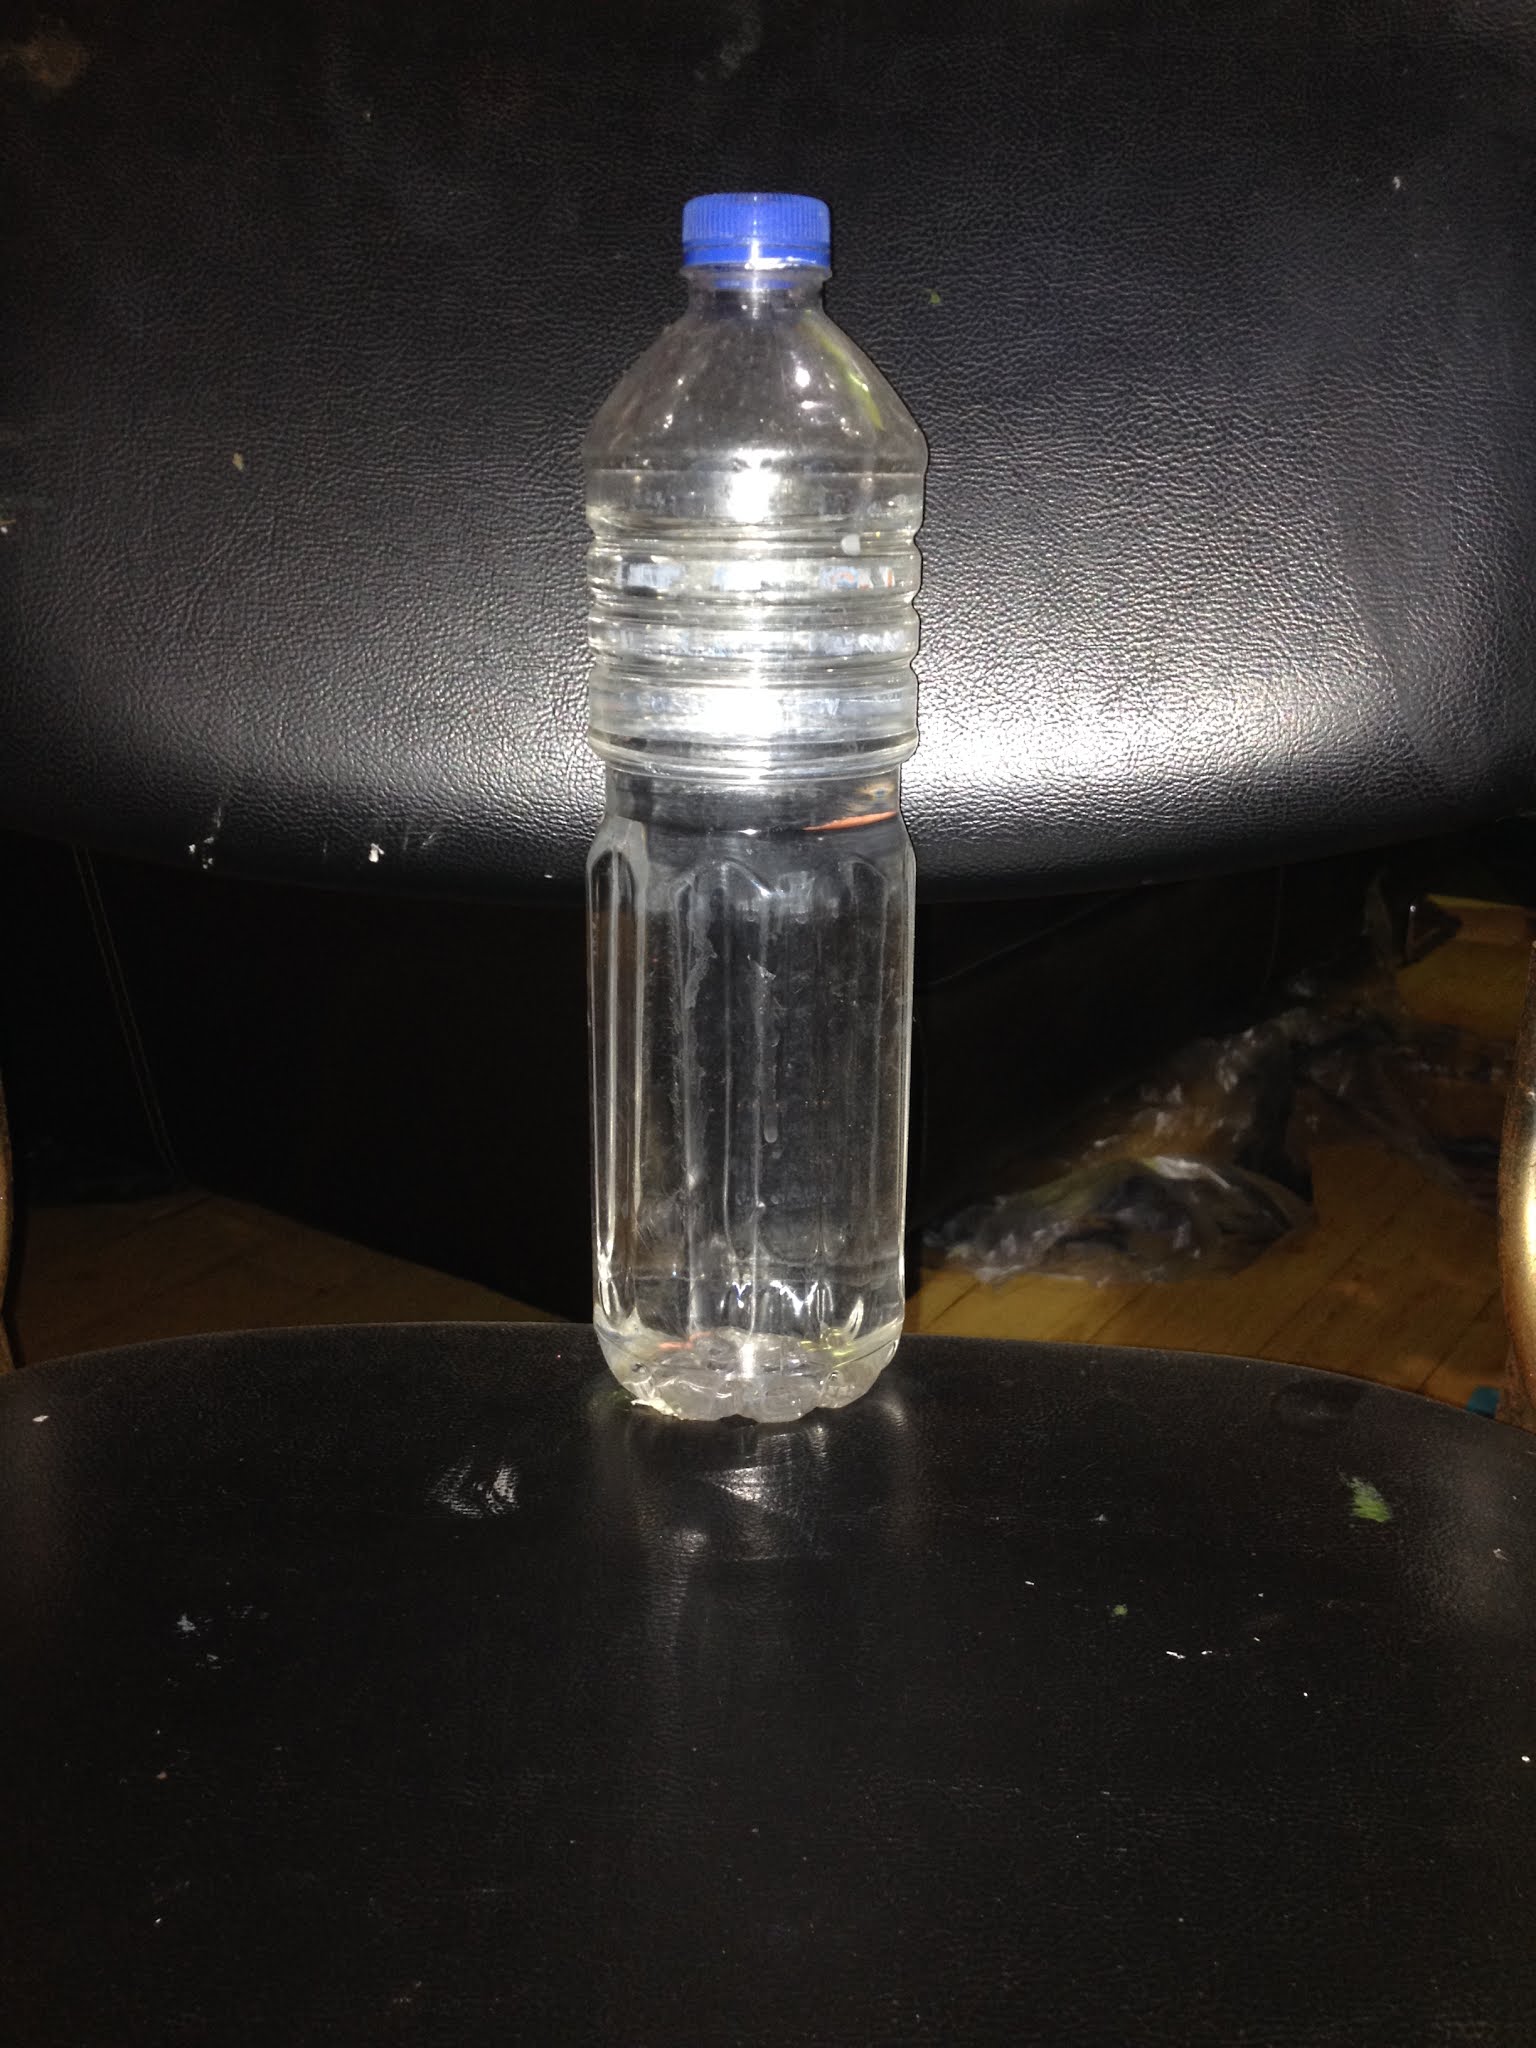


WHAT YOU NEED:

*thick cardboard
*pencil
*scissors
*paint
*felt-tip pens
*ruler
*glue
*picture


STEP #1:

Place one of your hands on the cardboard so that only your knuckles and fingers are on it. Draw around your closed fingers, gently pushing your pencil between them.


STEP #2:

Cut it out and draw around it again on another piece of cardboard. Cut this out and you have a pair.

TIP: Instead of tracing it with your hand, I use the cutout cardboard hand to draw around it as a template instead.
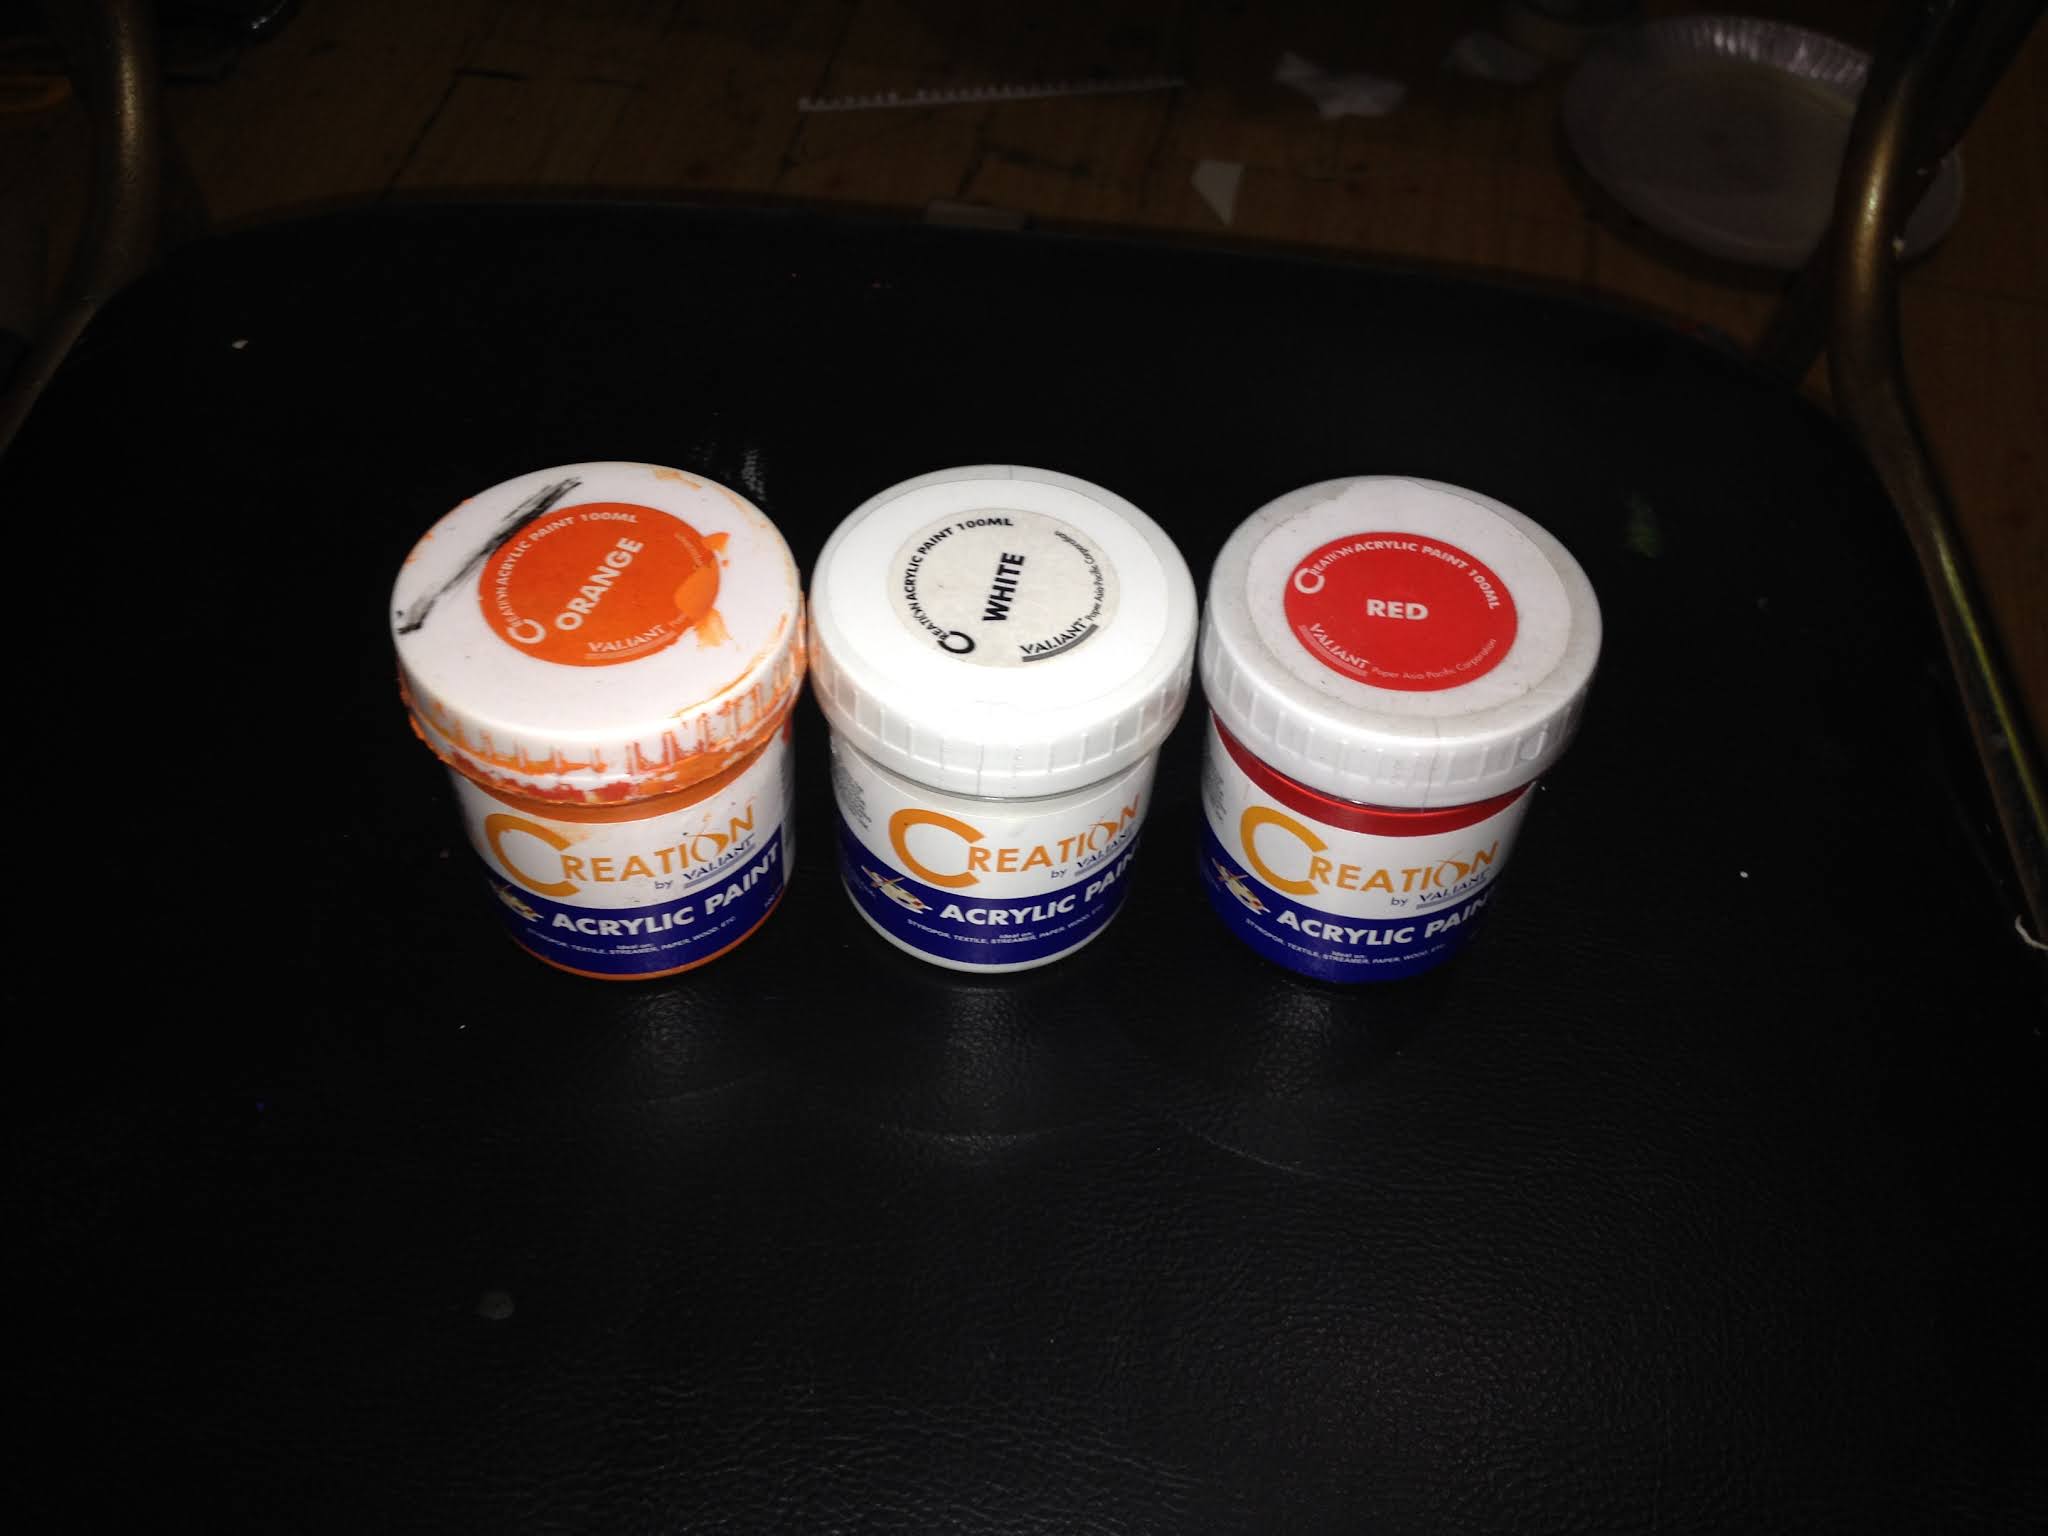

STEP #3:

Paint them to match your own hands and add detail with felt-tip pens.

TIP: To make the skin tone color mix white and red, and when it’s pink mix it with yellow next. I’m using brown paint to match my color because I’m Filipino (don’t use black to make a darker skin tone use brown instead).


STEP #4:

Draw around a 30cm ruler on to another piece of cardboard and cut it out. From this cut off two individual strips that are the same length as the hands. Then glue these strips on the back of your grippers, at the knuckle end, away from the fingertips.


STEP #5:

Cut out a piece of card to fit your picture. Place the picture on top, slip on the Handy Grippers and stand your picture wherever you like.


The photo I'm framing is Satsuki Momoi and Riko Aido from the anime "KUROKO'S BASKETBALL" vacationing on the beach with their swimsuits on.

MANY WAYS TO 

HANG YOUR FRAME:


HANGING FRAME:


Here's how to make it!:


FRAME STAND:


Here's how to make it!:


Me Making a “HANDY GRIPPERS” (from Art Attack) with Instructions:


(***)


TAGS: Art Attack, art attack, Arts & Crafts, arts & crafts, For Kids, for kids, Neil Buchanan, neil buchanan, Window Frame, window frame, DIY, diy, Art, art, Tutorials, tutorials, Tutorial, tutorial, 90s, 90's, TV, tv, Shows, shows, Children's, children's, Program, program, British, british, Televison, television, Disney, disney, asia, Asia, Philippines, philippines, series 10, episode 4, Handy Grippers, handy grippers, Photo Frame, Kuroko's, kuroko's, The Basketball In Which Kuroko Plays,the basketball in which kuroko plays, No Basuke, no basuke, Basket, basket, Anime, satsuki momoi, riko aido, Bikini, Bikinis, Swimsuit, swimsuit, Swimsuits, Vacationing, Beach, 黒子のバスケ, 桃井 さつき, 相田 リコ, ビキニ, 水着, ビーチ, 浜, 海岸, 浜辺, 海辺, 海浜, 渚, 波打ち際, 沿岸, 水際, 浦辺, 磯辺, 沿海

Monday, August 30, 2021

How to Make a "ROOM with a VIEW" from Art Attack

How to Make “A ROOM WITH A VIEW” from Art Attack


The reason why I’m making this video, cause the Series 6 (1994), Episode 2’s “Room with a View” of Art Attack is in Chinese dub (no original English audio is found), but I follow some steps in the Disney Latin American Version of Art Attack with badly auto-generated subtitles on it, so I’ll show you how to make it.


Art Attack - Series 6 (1994), Episode 2: “Room with a View” (Chinese Dub)

Art Attack - Series 6 (1994), Episode 2: “Room with a View” (Disney Latin American Version)


The materials are:

*1. pencil

*2. marker pen

*3. paper

*4. card paper

*5. bowls or containers

*6. white glue (aka PVA glue)

*7. water

*8. cotton roll or balls

*9. poster or acrylic paints (two colors of your choice, but white is included too)

*10. paintbrushes

*11. scissors

*12. paper cutter (optional)

*13. glue stick

*14. magazine photo of a beautiful landscape

NOTE: I chose this photo landscape is because I found an article and it says “A Room with a Farm”, now let’s turn this “a room with a farm” into “a room with a view”.

***

Step 1: Place the paper in the middle of the card paper and then draw around the white paper on the card with a pencil.

Then draw a window with curtains using a marker pen around the drawn line that you’ve drawn around the paper with, like this.


Step 2: Now dip your cotton in the bowl of water, also squeeze and drain the excess water from cotton then dip it into a bowl of white PVA glue and then mold it into a shape of a window frame, and leave it to dry (it might take 2-3 or several days to let it dry rock hard).


Step 3: Now it’s ready to paint, use poster or acrylic paint using two colors of your choice and also white, then leave it to dry.

I’m choosing red and orange as my choice of colors.


Step 4: While you wait for the paint to dry, now it’s the time frame your scenery: take your magazine picture of your landscape choice, then use the paper that you’ve previously used to draw around the card paper with, then scan your paper to find your perfect frame for your picture, then draw around it with a pencil and cut your perfect frame picture (I’m using a paper cutter with this is because it cuts perfectly but it’s optional, but you can use scissors).

Step 5: Once the paint is dry, cut it out! Here’s a tip: to cut the outer windows just use modeling clay and put it underneath the placement for the outer windows, and then use a shaper pencil and poke it through the outer windows then cut it.


Step 6: Finally, glue your window with a glue stick on the back of your window and place it on your landscape picture.


TAGS: Art Attack, art attack, Arts & Crafts, arts & crafts, For Kids, for kids, Neil Buchanan, neil buchanan, Window Frame, window frame, DIY, diy, Art, art, Tutorials, tutorials, Tutorial, tutorial, 90s, 90's, TV, tv, Shows, shows, Children's, children's, Program, program, British, british, Televison, television, Disney, disney, asia, Asia, Philippines, philippines, series 6, episode 2