How to Make “A ROOM WITH A VIEW” from Art Attack

The reason why I’m making this video, cause the Series 6
(1994), Episode 2’s “Room with a View” of Art Attack is in Chinese dub (no
original English audio is found), but I follow some steps in the Disney Latin
American Version of Art Attack with badly auto-generated subtitles on it, so
I’ll show you how to make it.
Art Attack - Series 6 (1994), Episode 2: “Room with a View” (Chinese Dub)
Art Attack - Series 6 (1994), Episode 2: “Room with a View” (Disney Latin American Version)
The materials are:

*1. pencil

*2. marker pen

*3. paper

*4. card paper

*5. bowls or containers

*6. white glue (aka PVA glue)
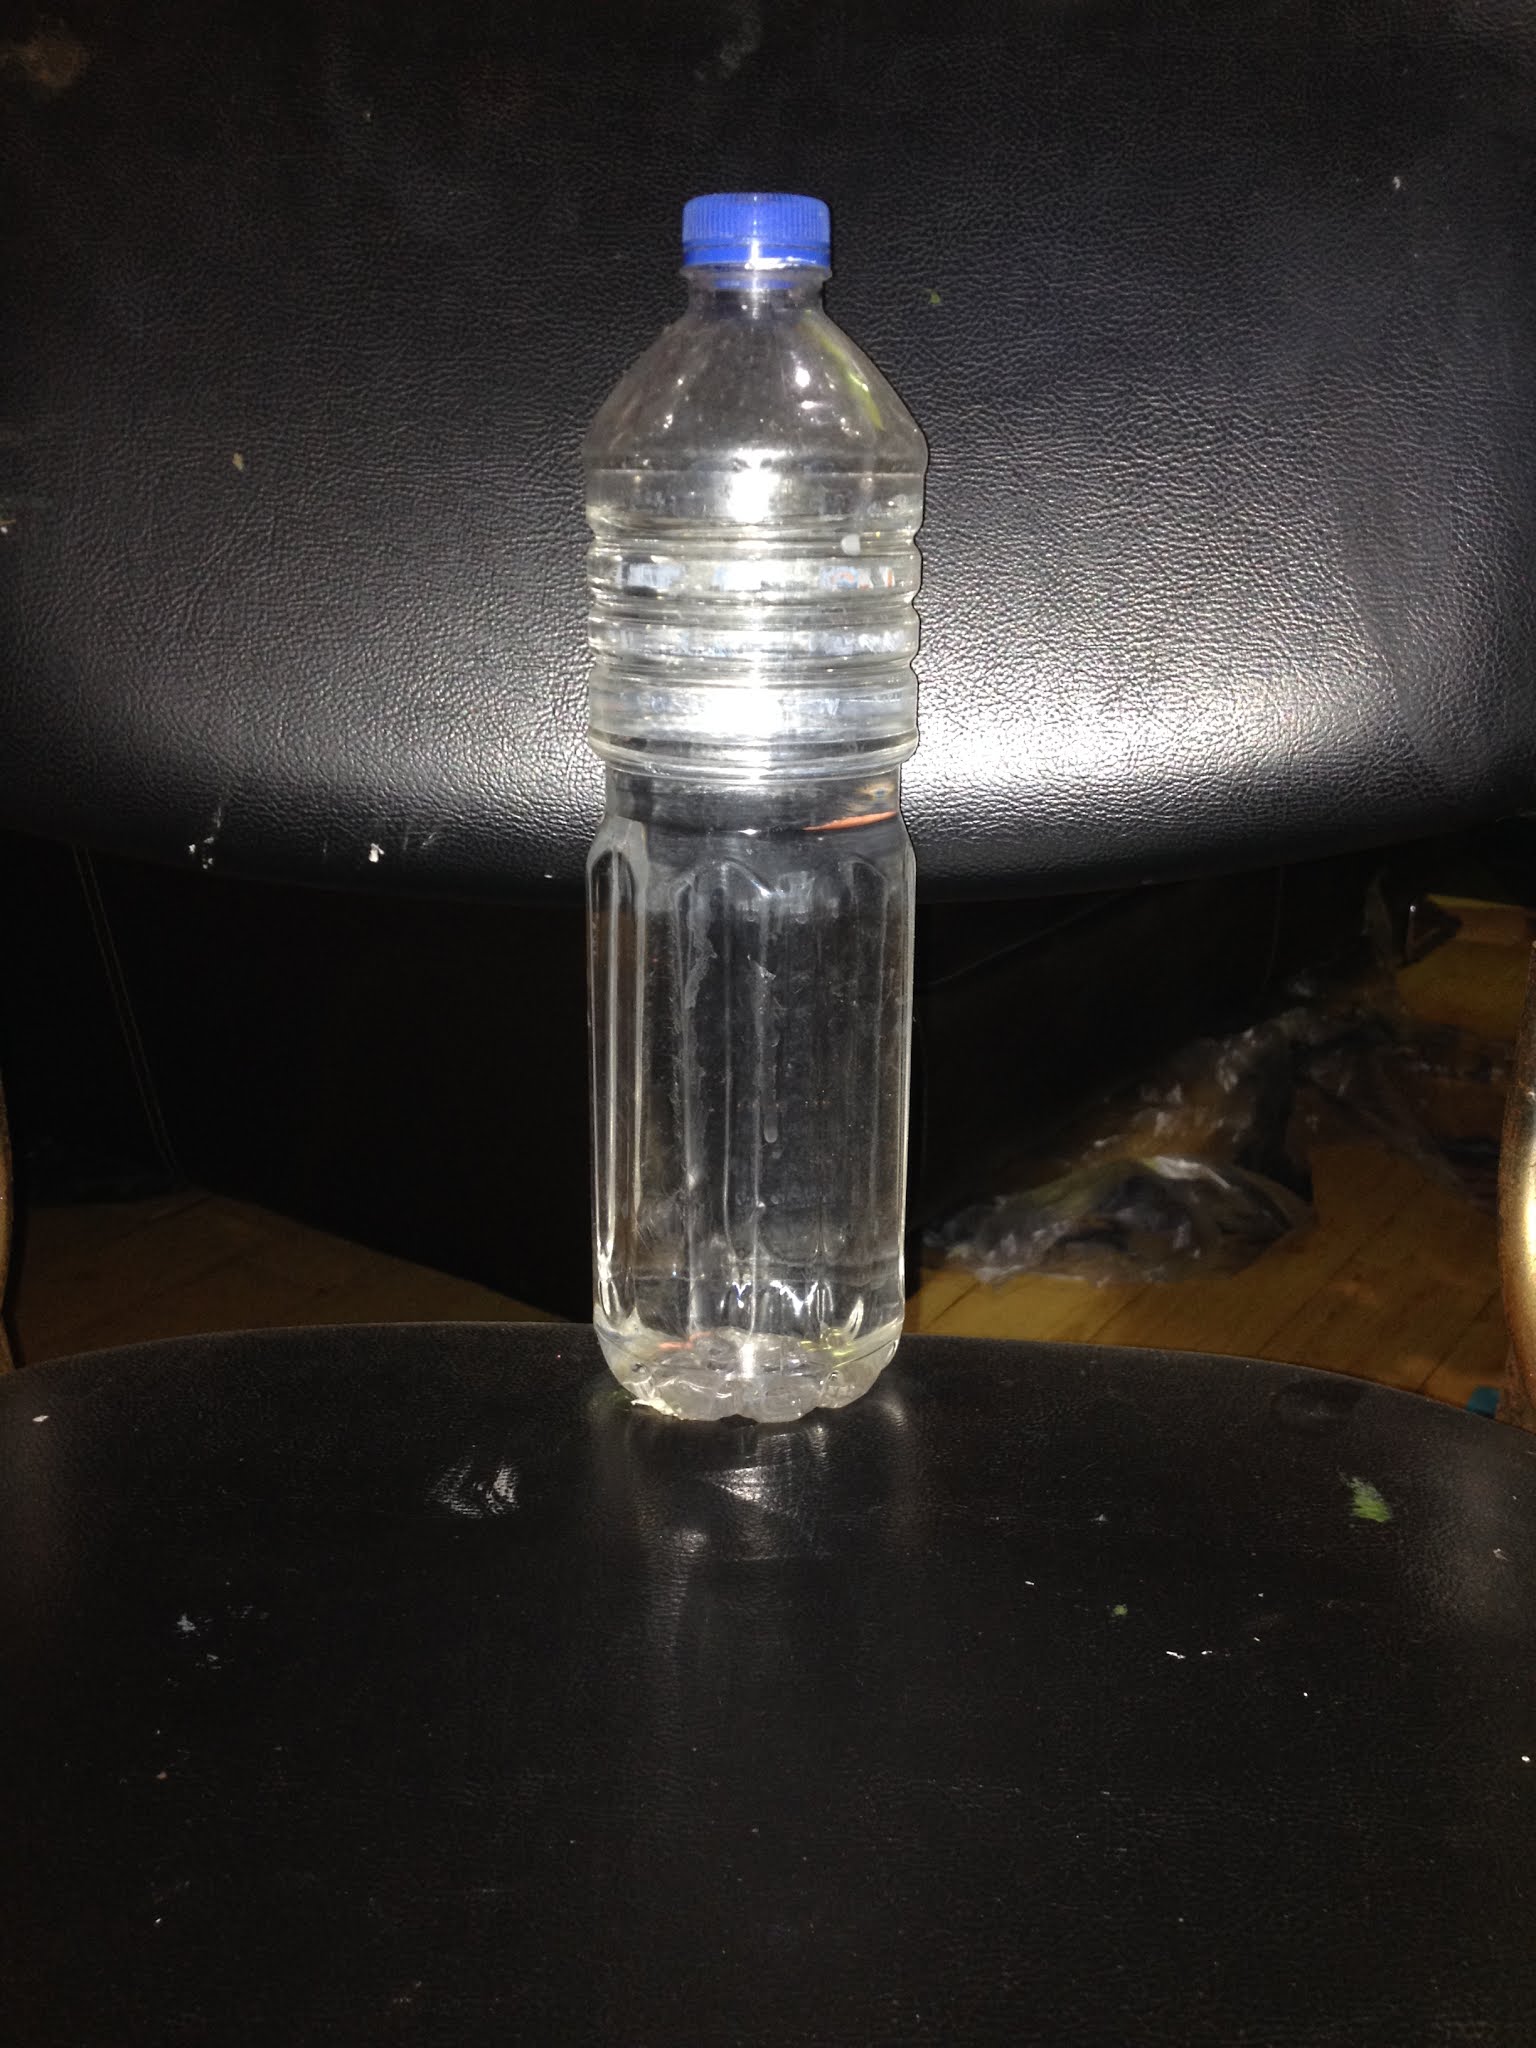

*7. water

*8. cotton roll or balls
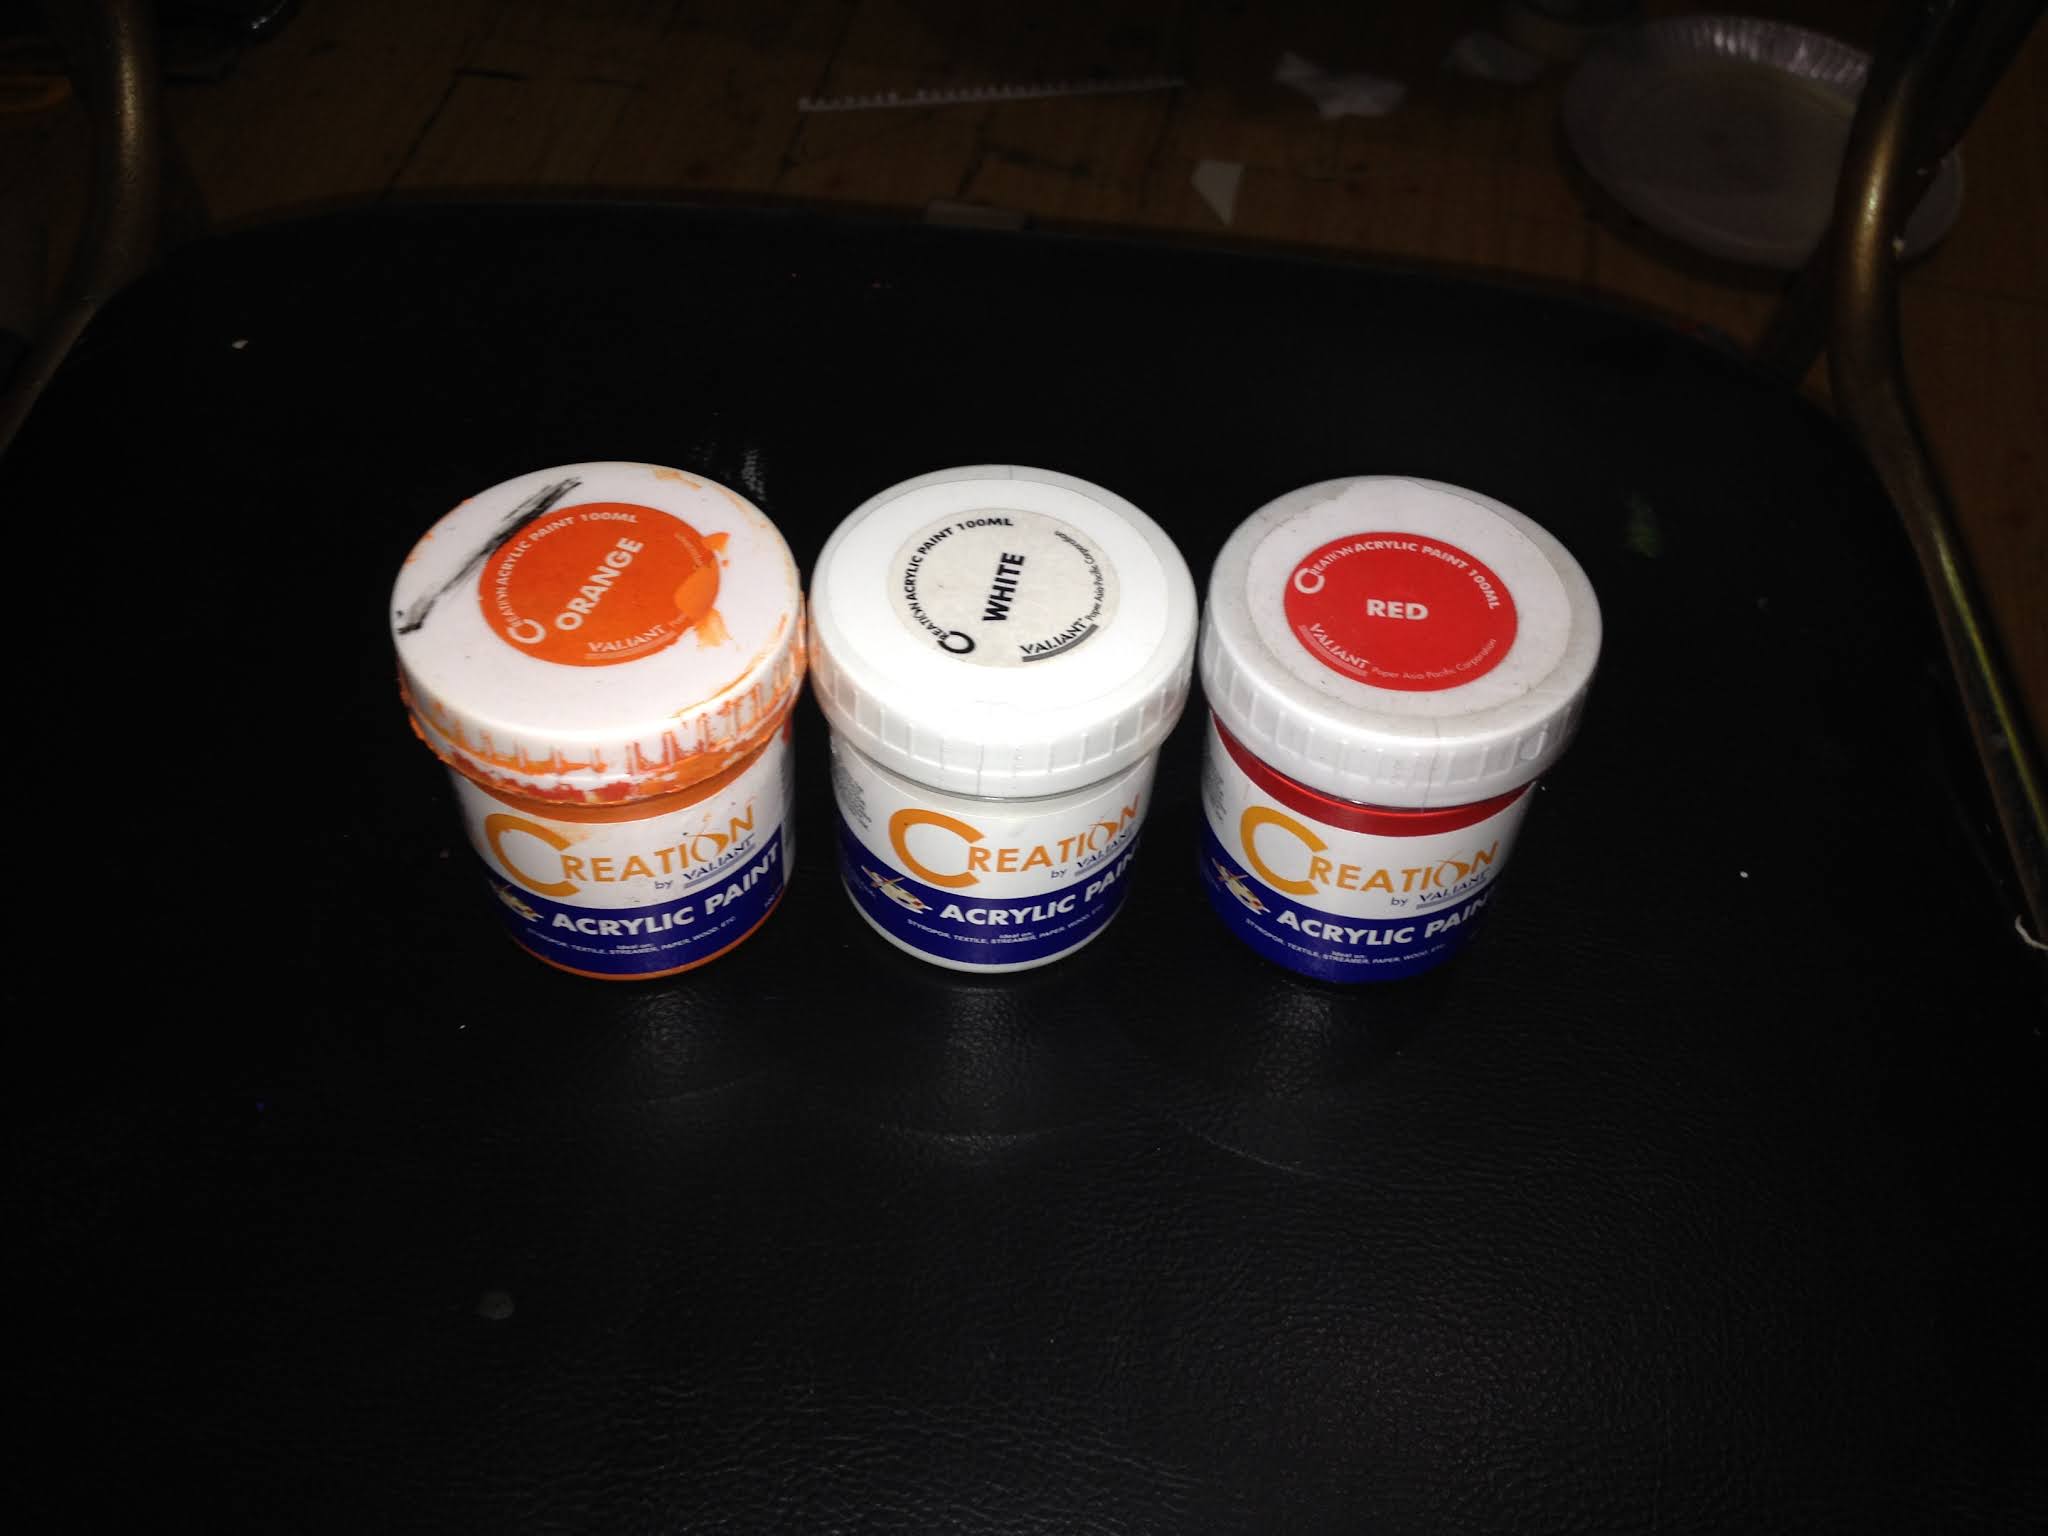
*9. poster or acrylic paints (two colors of your choice,
but white is included too)

*10. paintbrushes

*11. scissors

*12. paper cutter (optional)

*13. glue stick

*14. magazine photo of a beautiful landscape

Step 1: Place the paper in the middle of the card paper and then draw around the white paper on the card with a pencil.

Then draw a window with curtains using a marker pen around the drawn line that you’ve drawn around the paper with, like this.

Step 2: Now dip your cotton in the bowl of water, also squeeze and drain the excess water from cotton then dip it into a bowl of white PVA glue and then mold it into a shape of a window frame, and leave it to dry (it might take 2-3 or several days to let it dry rock hard).

Step 3: Now it’s ready to paint, use poster or acrylic paint using two colors of your choice and also white, then leave it to dry.

I’m choosing red and orange as my choice of colors.

Step 4: While you wait for the paint to dry, now it’s the time frame your scenery: take your magazine picture of your landscape choice, then use the paper that you’ve previously used to draw around the card paper with, then scan your paper to find your perfect frame for your picture, then draw around it with a pencil and cut your perfect frame picture (I’m using a paper cutter with this is because it cuts perfectly but it’s optional, but you can use scissors).

Step 5: Once the paint is dry, cut it out! Here’s a tip: to cut the outer windows just use modeling clay and put it underneath the placement for the outer windows, and then use a shaper pencil and poke it through the outer windows then cut it.


Step 6: Finally, glue your window with a glue stick on the back of your window and place it on your landscape picture.


TAGS: Art Attack, art attack, Arts & Crafts, arts & crafts, For Kids, for kids, Neil Buchanan, neil buchanan, Window Frame, window frame, DIY, diy, Art, art, Tutorials, tutorials, Tutorial, tutorial, 90s, 90's, TV, tv, Shows, shows, Children's, children's, Program, program, British, british, Televison, television, Disney, disney, asia, Asia, Philippines, philippines, series 6, episode 2